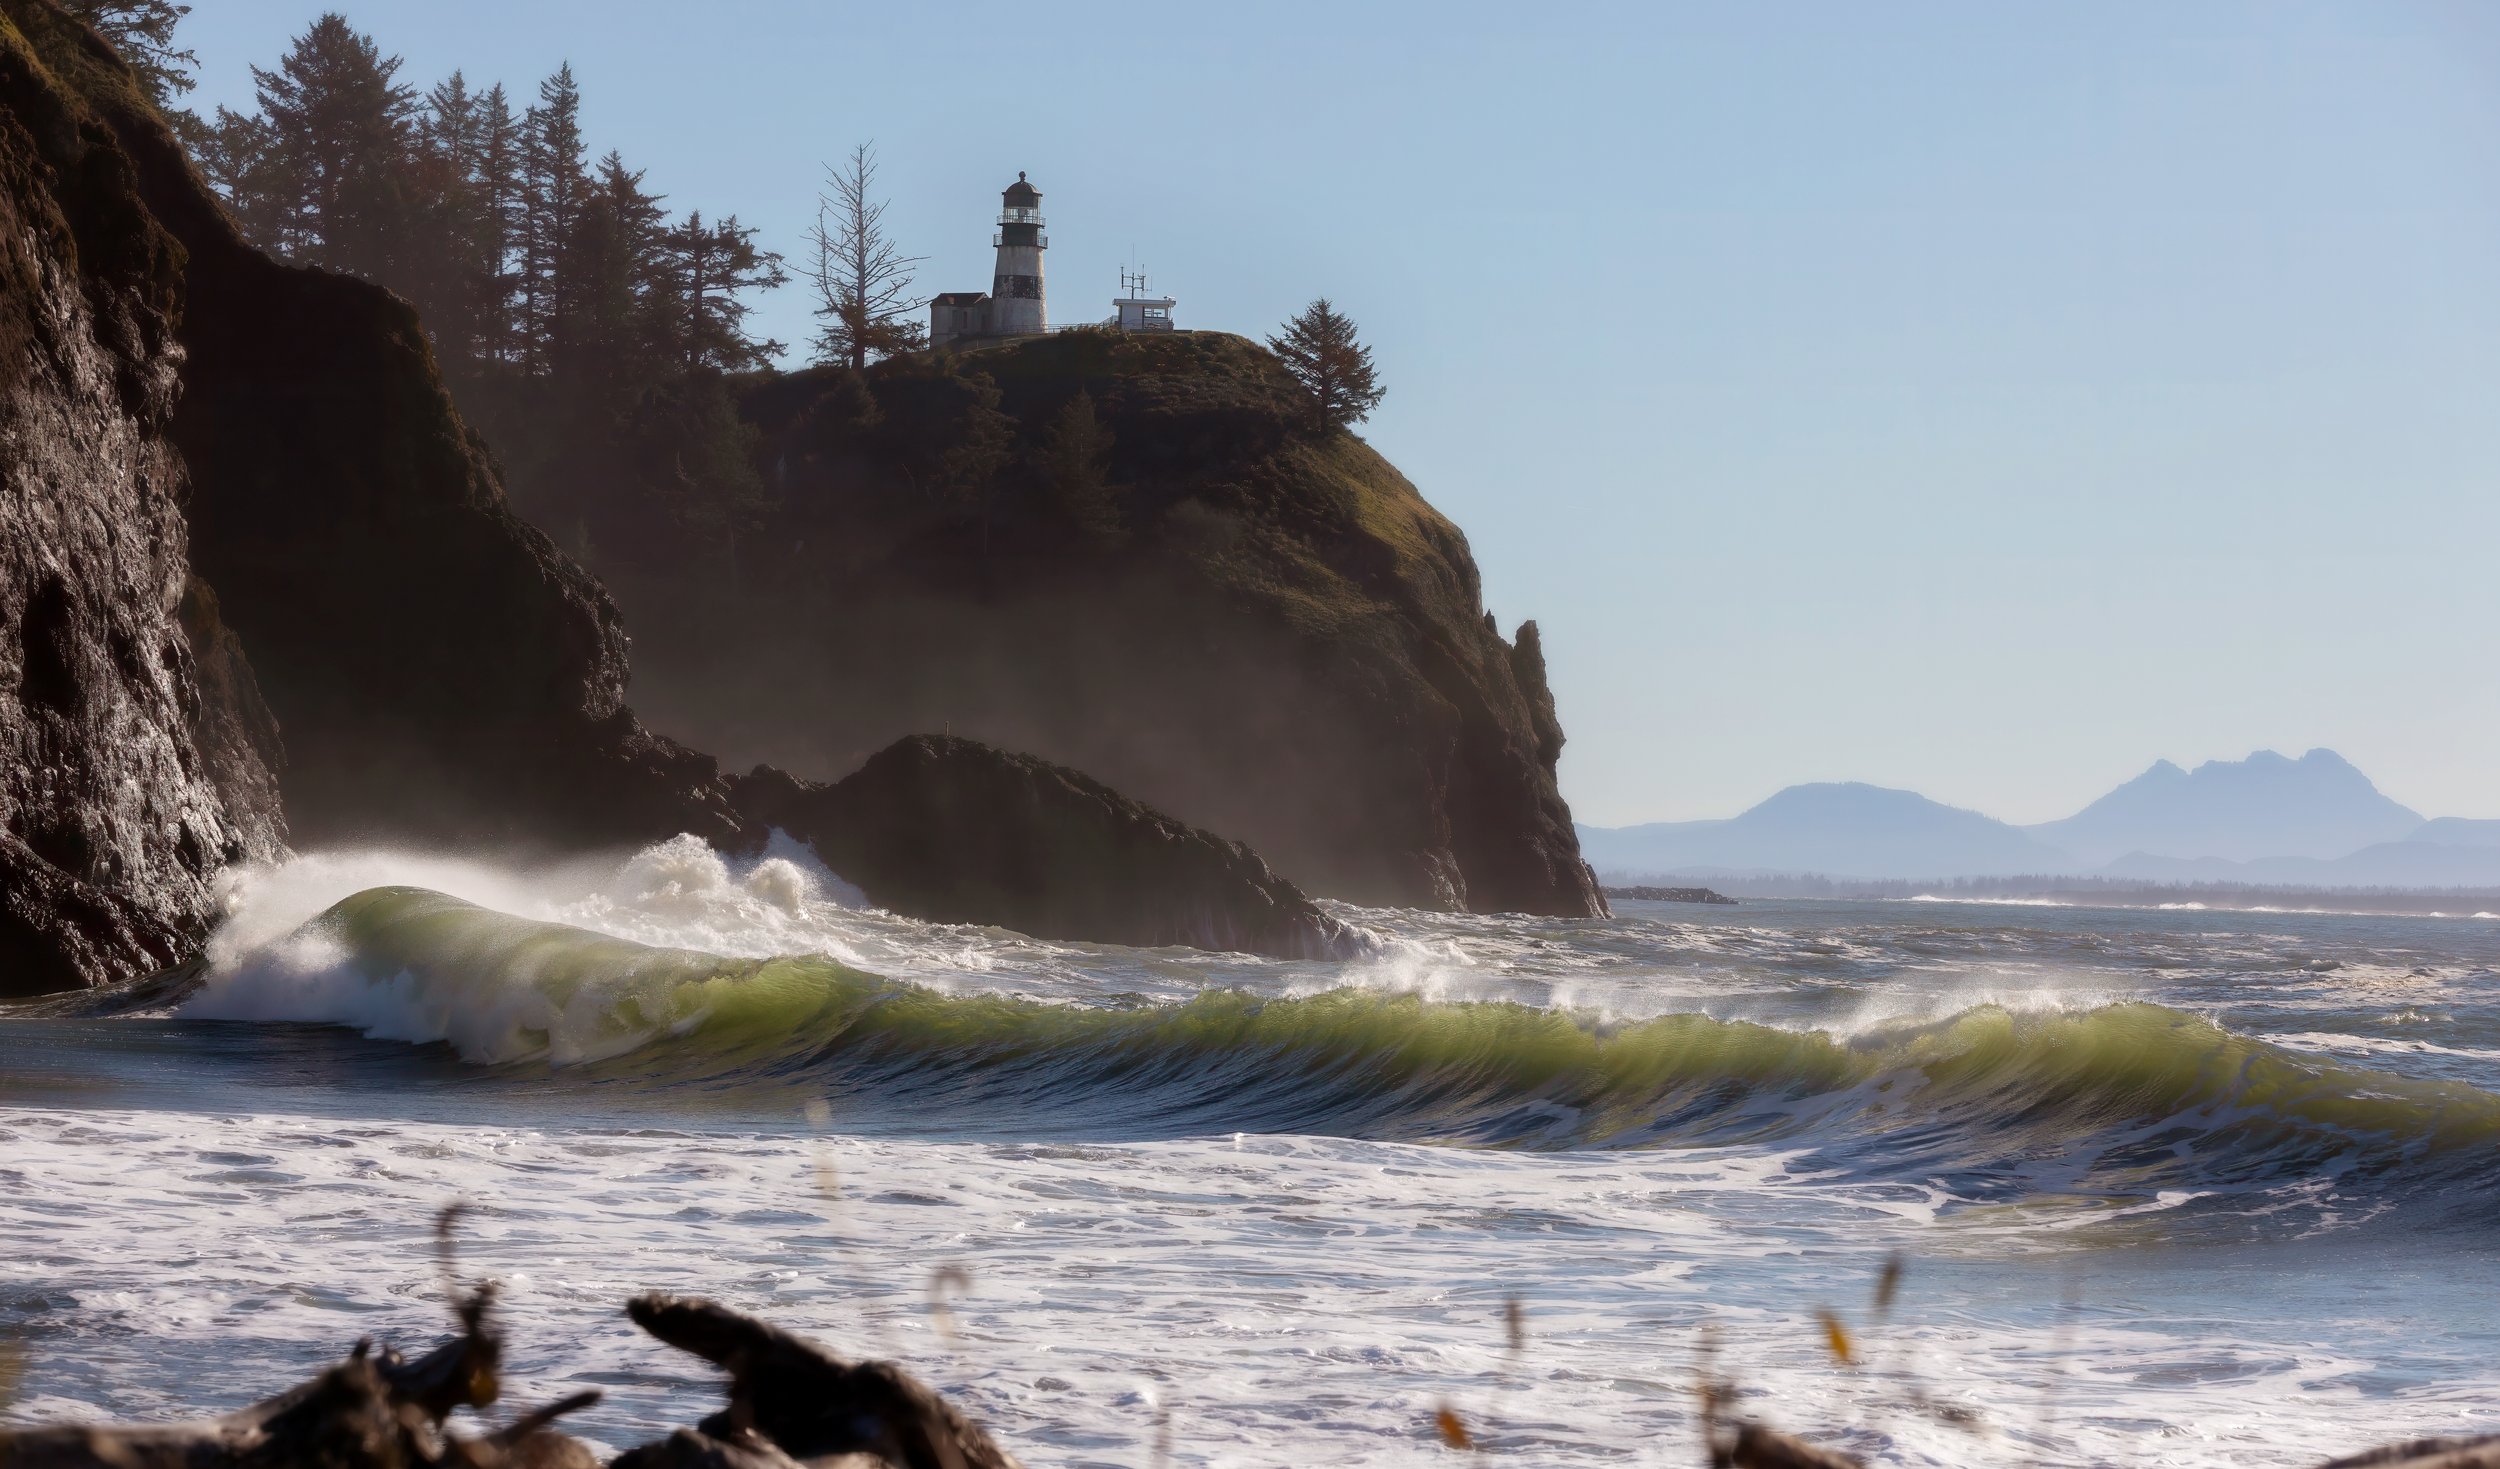
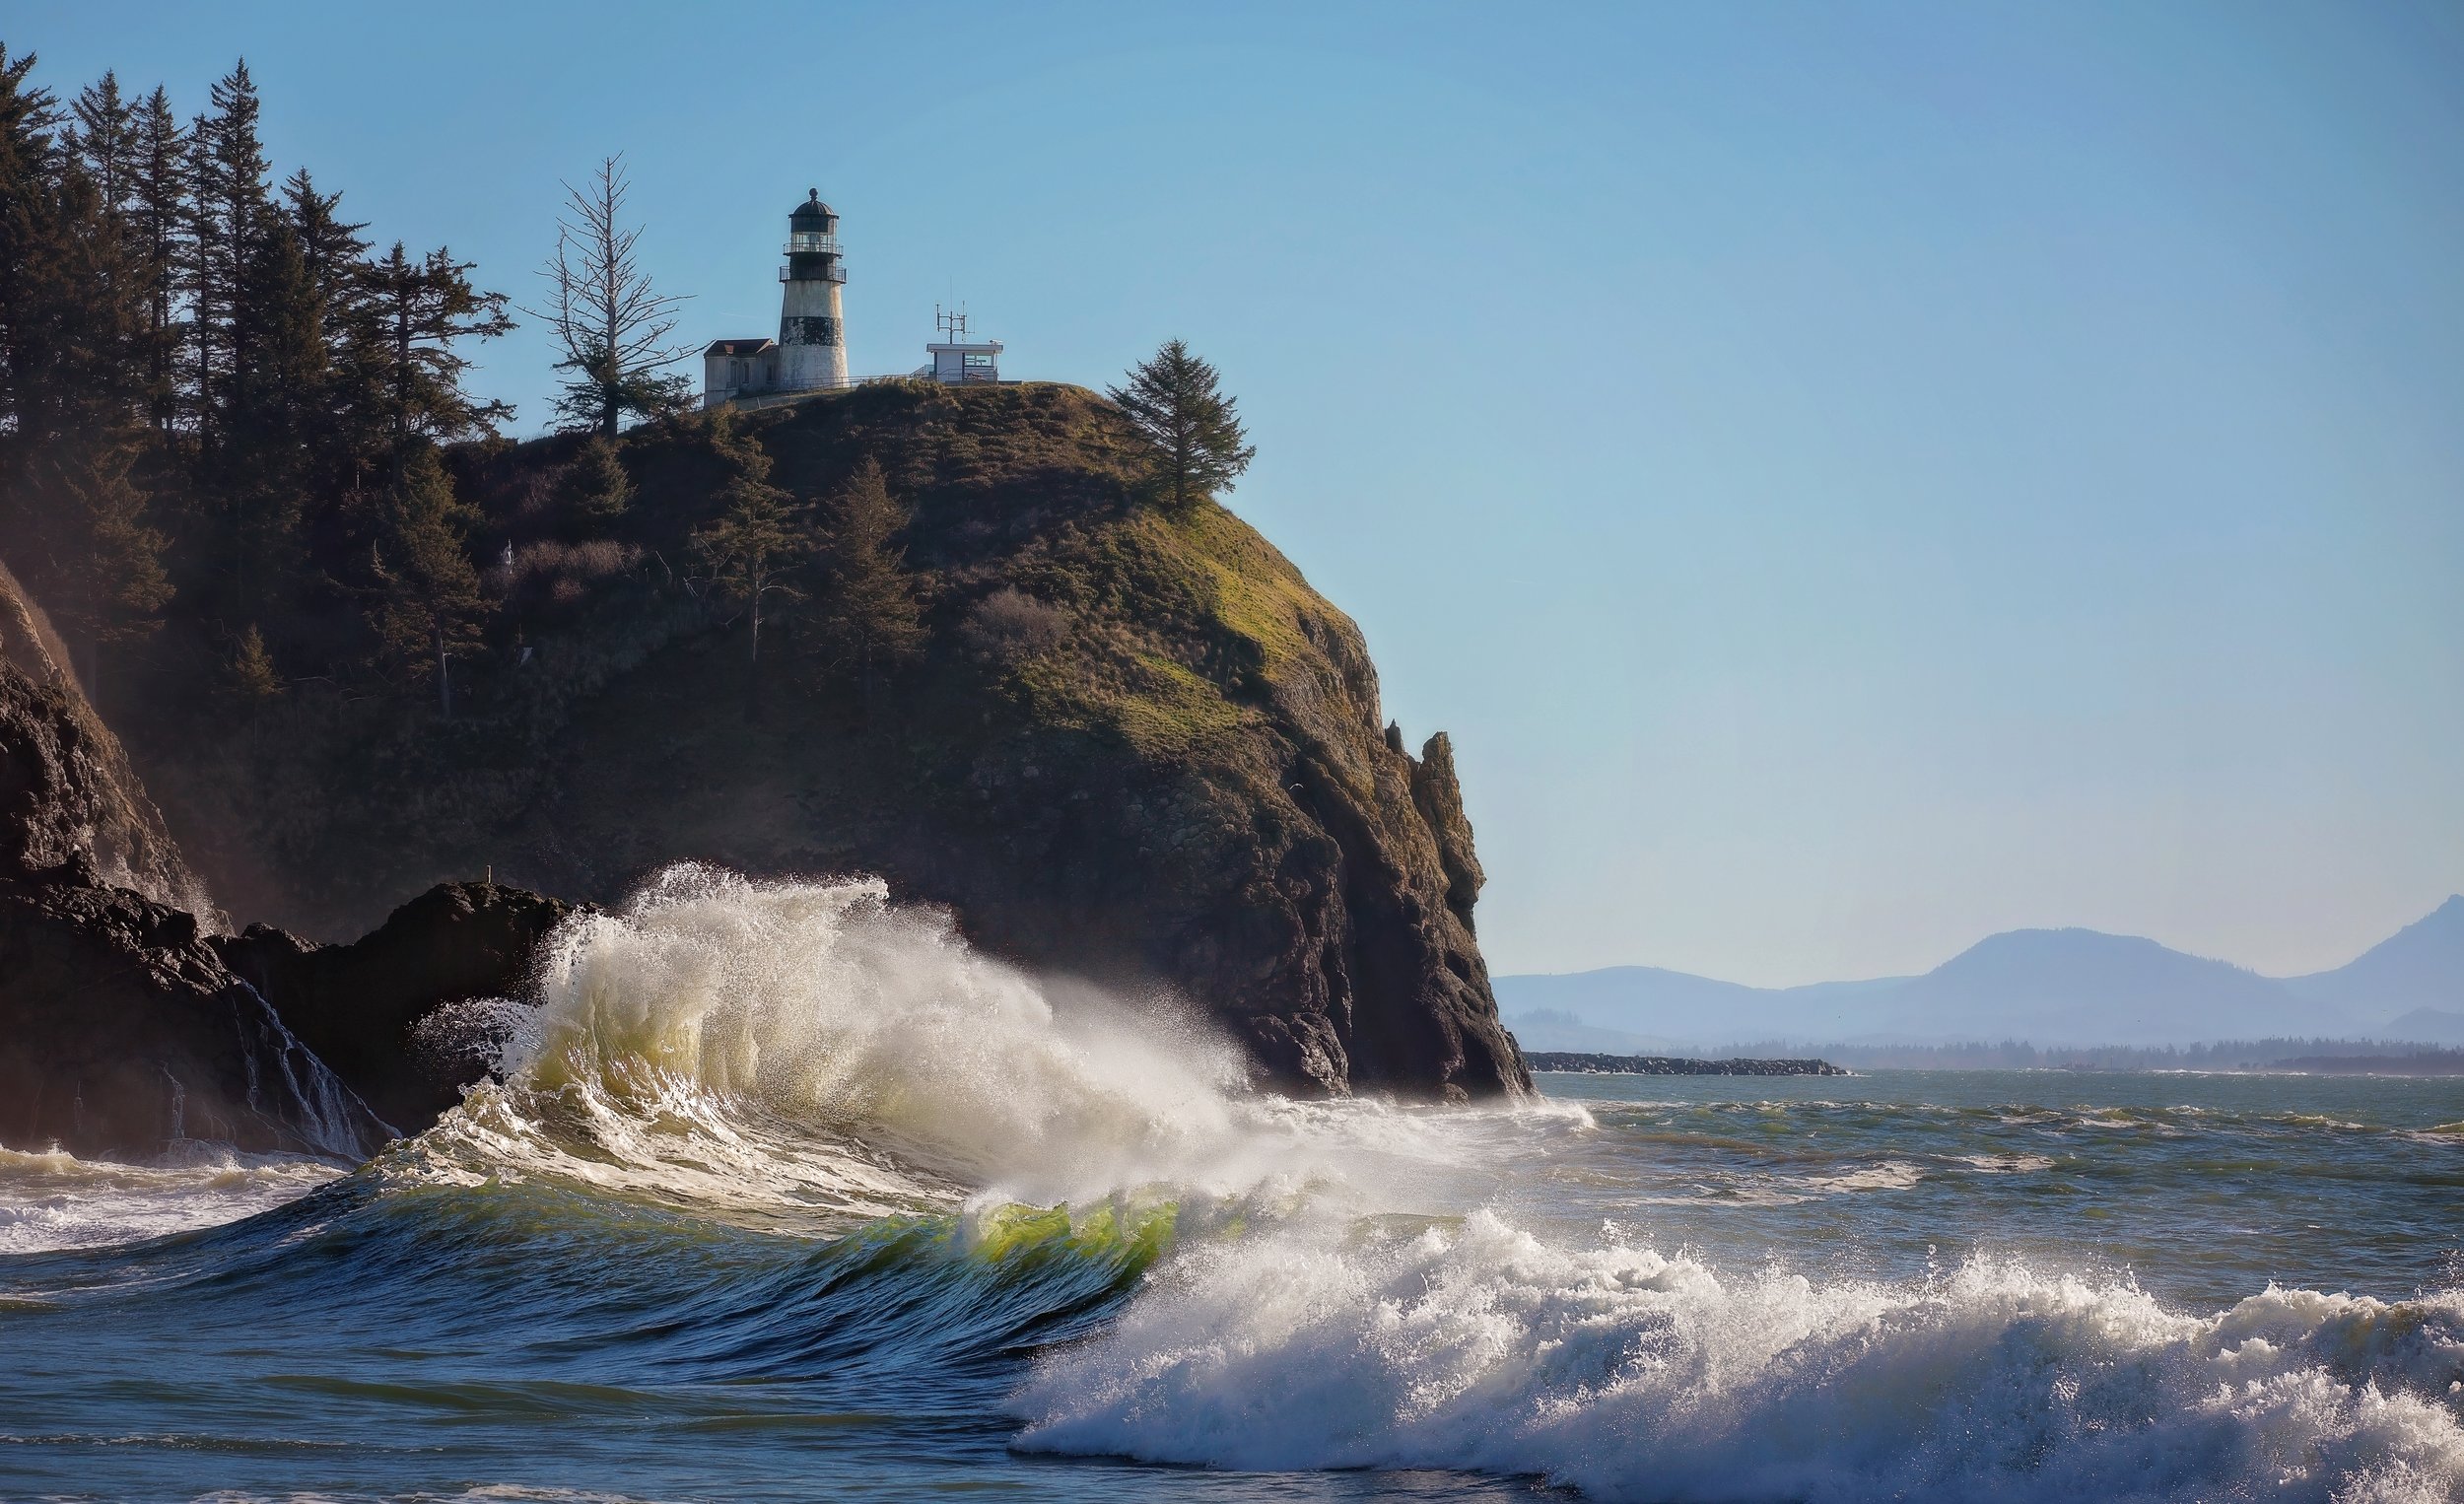
Photographing King Tide Waves at Cape Disappointment State Park.
Announcement from Washington State Parks:
“Most of Cape Disappointment State Park will close from mid-September 2024 through spring 2025, specifically camping loops A, B, C and D and Waikiki Beach while the park undergoes renovations and repairs.”
PHOTOGRAPHY AT CAPE DISAPPOINTMENT
Cape Disappointment provides a stunning backdrop with the iconic red and white lighthouse perched high above the crashing waves below. You can’t go wrong visiting the park any time of the year, but to photograph the big waves, ooh and ahh and cheer on Mother Nature’s majestic display of strength…you have to know when to go! If you ask multiple photographers the same question of the best time to visit, you’ll get different responses. Some say only king tides are worth the trip, others say during or just after a large storm, or during a full moon creates the perfect conditions for monster waves. Others swear by watching tide tables and just being at Waikiki Beach at a high tide.
Essentially it comes down to comfort level and what style of photography you enjoy! Personally I’m not into the jam-packed, shoulder-to-shoulder, combat-style photography encountered when large masses of enthusiasts descend on a location to capture either wildlife, landscape, or anything in between, so when a friend asked if I wanted to go photograph the king tide’s this last winter at Cape Disappointment….I was really only going to see what the fuss was about with little expectations.
Aaron and I packed up the truck with video and photography gear, grabbed coffee and made the journey south to meet our friends and ensure we were there two-three hours before the highest waves were predicted. Another reason you have to get there early is to secure your spot before the crowds! We arrived to Waikiki Beach and even three hours before high tide we found masses of people. Here’s where the fun began tho —- most everyone were enthusiastic, engaging, and it felt like a celebration amongst a group of good friends and was a ton of fun!
We set up our camera equipment (tripods are helpful) and happily snapped away. Soon I lost track of how many photographs I’d snapped as I spent hours trying to capture wave formations and the impressive “back collision”. The only difficulty was leaving as I found myself saying “just one more”, “the biggest is yet to come”.
Make sure you bring extra SD cards, camera batteries, lens wipes, rain gear. Prepare for all types of conditions!
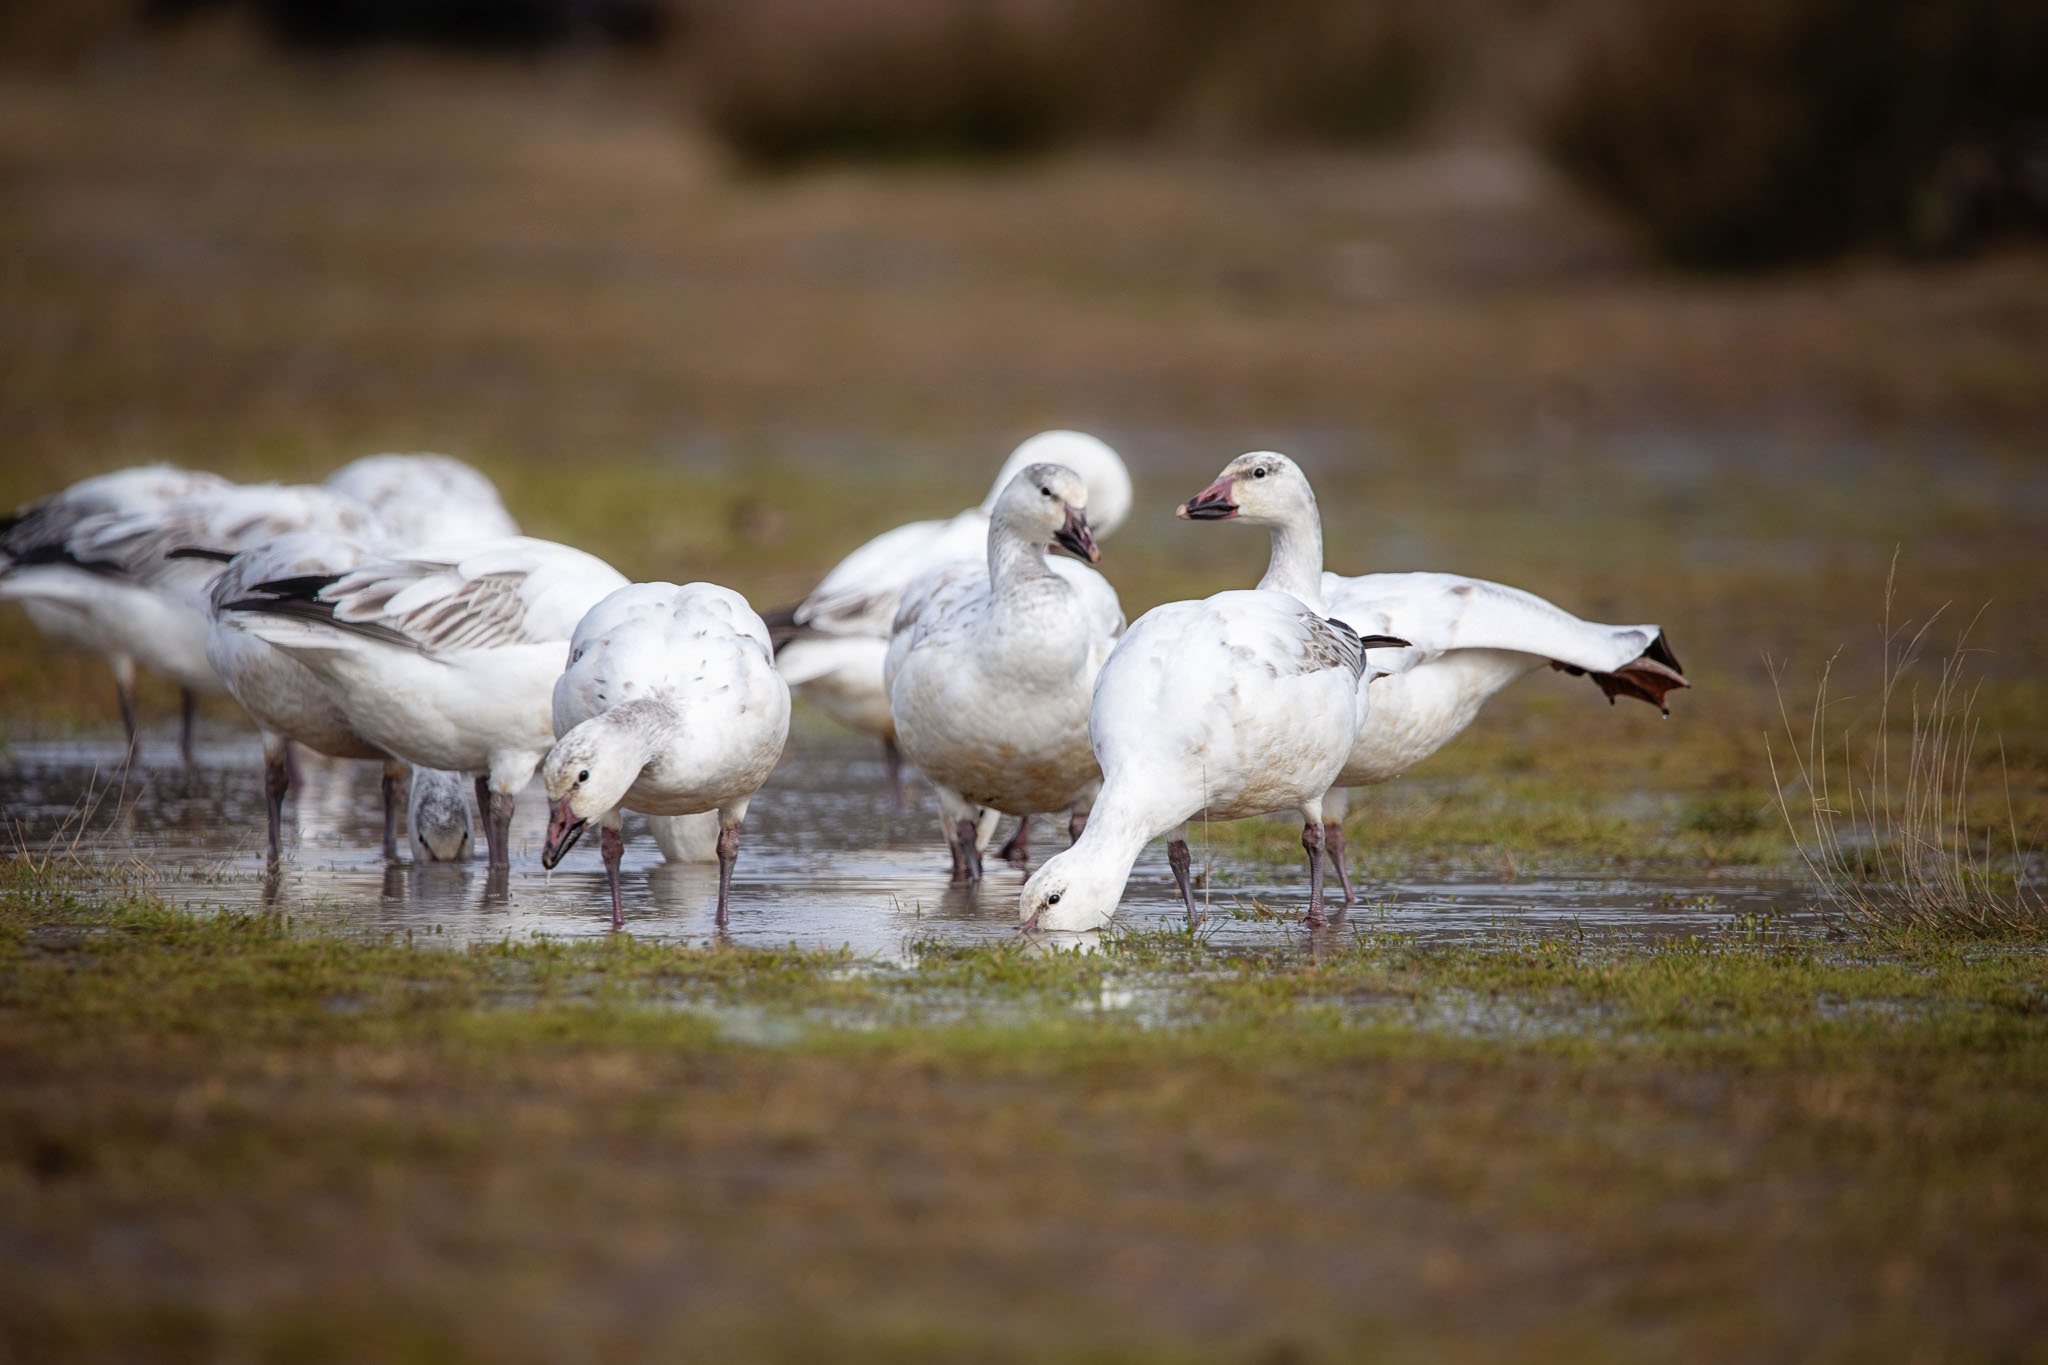
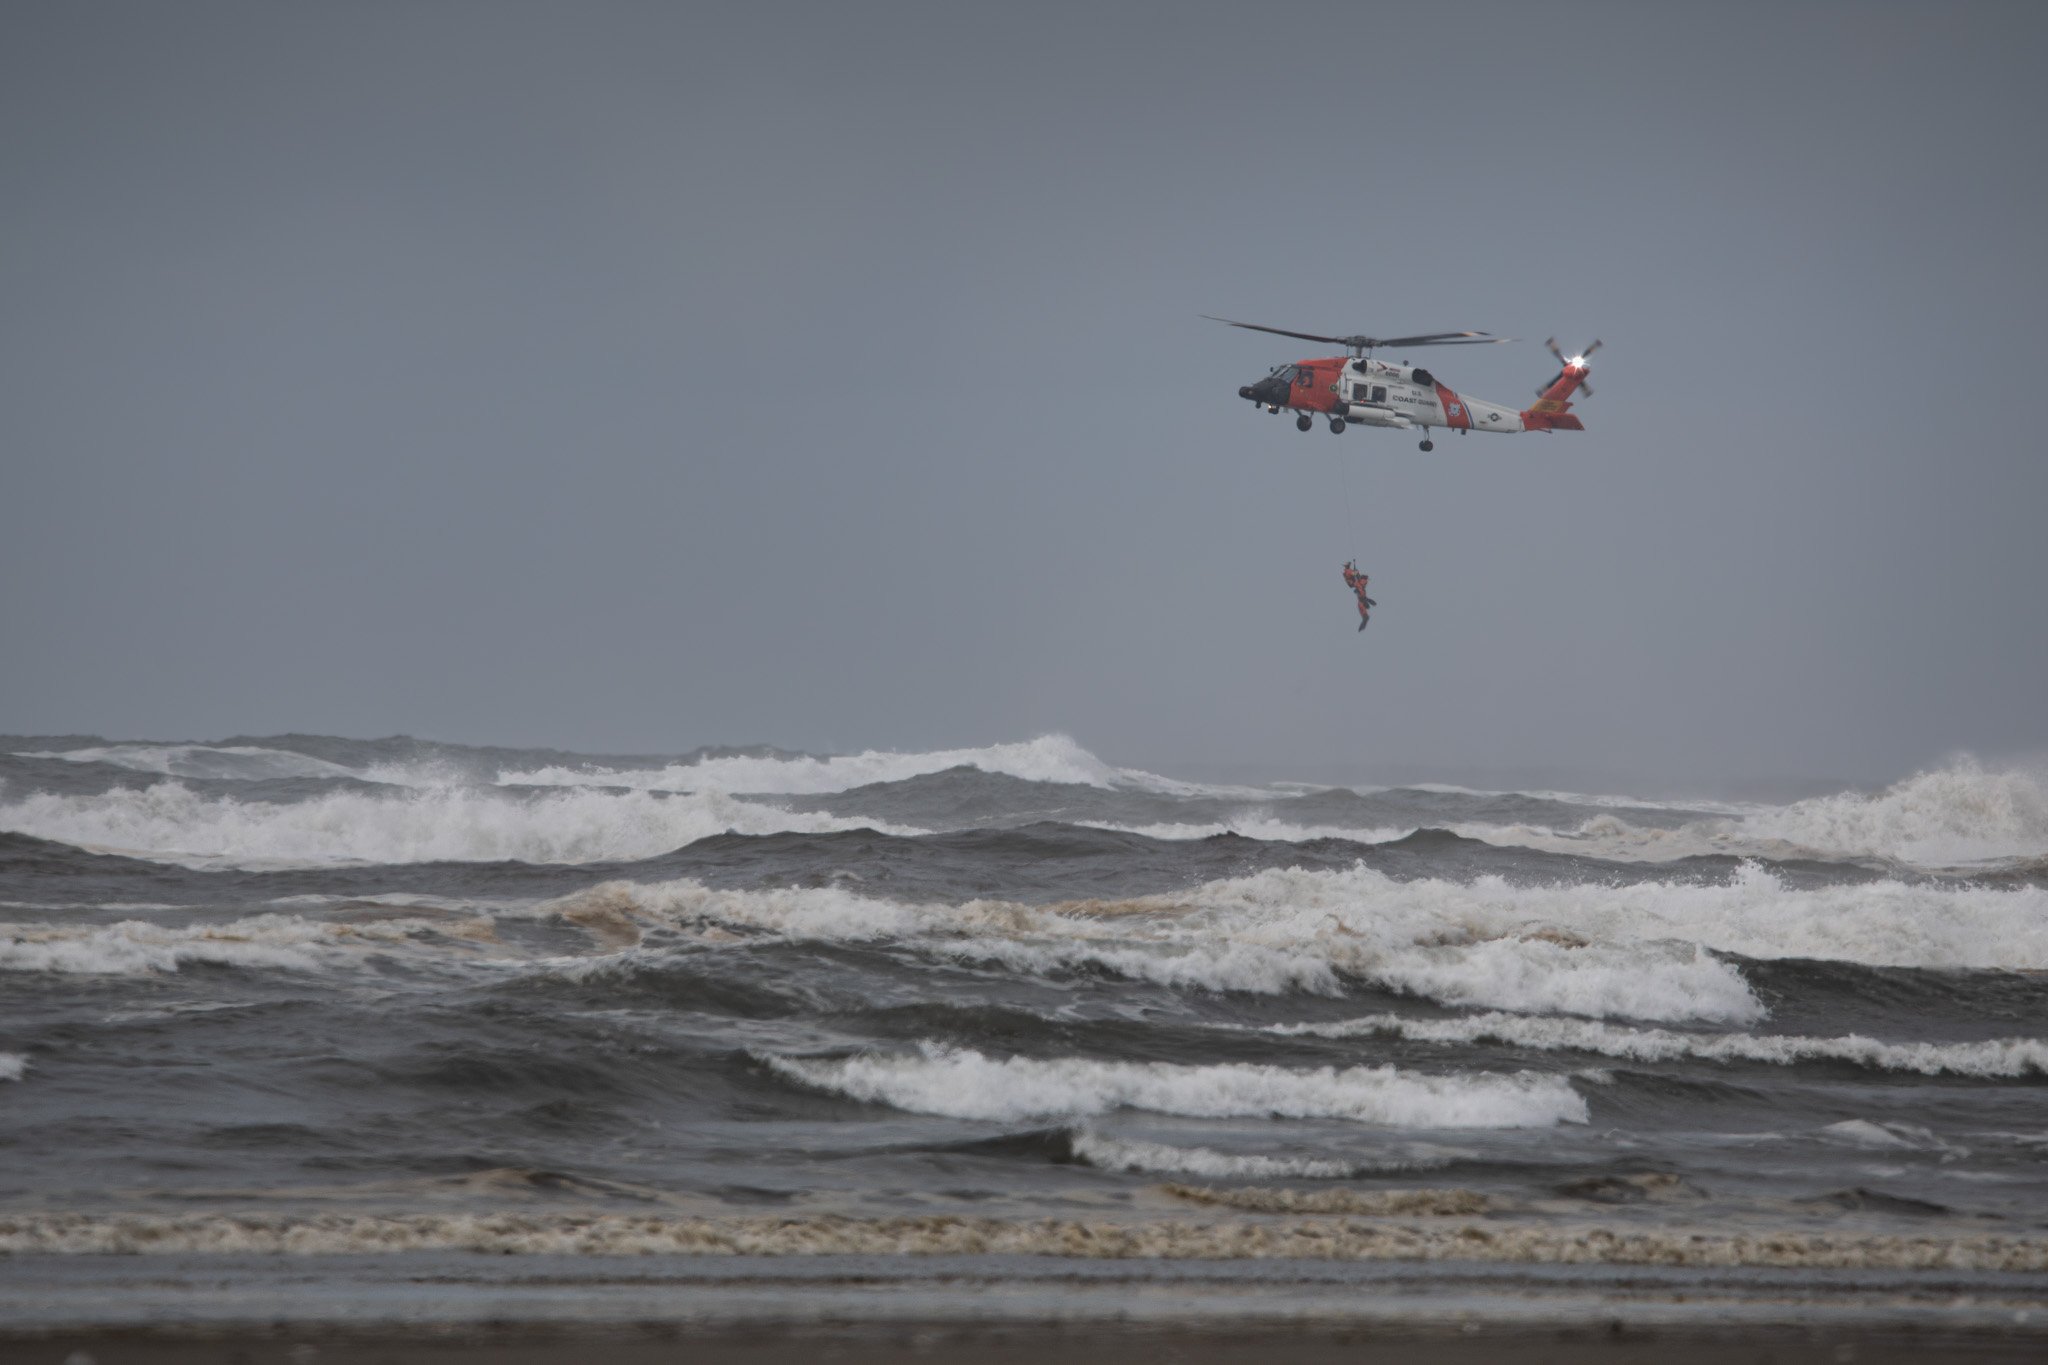
When you finish photographing the waves take the time to walk the road towards the beach. You’ll find shorebirds, eagles, deer and if you time it correctly, the Coast Guard in action training in the waves!
GENERAL GUIDELINES FOR SUCCESS
Surf/Waves - Higher than 10’ with intervals ranging from 14-16 seconds.
Tides - At minimum of 7’ and preferably higher
A great resource for an easy to read website for marine weather can be found here: MARINE FORECAST.
Remember waves come in sets - you’ll have plenty of time to predict the big “gadoosh” as I like to call it once you find your spot to set up and wait.
The sun will be at different locations in relationship to the waves depending on the time of year. A fantastic app to determine the exact sun or moon location at any time, anywhere in the world is called LIGHTTRAC. The app is available for IOS or Android users. I highly recommend this for any photographer trying to plan shoots!
Be mindful of standing on the driftwood. Sneaker waves happen often here so always have an escape route!
GEAR
I saw people using everything from point and shoots, phone cameras to high end equipment. Generally, the majority had 70-200, 100-400, or similar zoom lenses. Wear a backpack so you can take your gear with you, a water bottle, and a few snacks. You won’t want to leave once you start photographing!


